Might as well get used to it — winter is here. While it’s tempting to huddle on your couch under a mountain of blankets, there are other ways to survive the season. We’ll introduce you to a new winter activity every few weeks, so grit your teeth, grab your mitts, and get ready to go play in the snow and earn your badges.
Snowshoeing is one of the most accessible outdoor winter activities, both in terms of cost and level of difficulty. It’s a lot like hiking, but for winter. You don’t need a lot of equipment, there are no passes or entry fees, and you could literally do it in your backyard (although there are likely more scenic spots you could try). Here’s what you need to know:
Equipment:
1. Snowshoes
2. Poles (optional)
That’s really it! You can wear your own winter boots (something like Sorels or a weather-appropriate hiking boot plus gaiters); the bindings on the snowshoes don’t require a special boot.
Snowshoe rentals are very affordable. A pair from the the U of C Outdoor Centre will cost you $10 a day, add poles for $2 a day, and you can even rent winter clothes there (snow pants $10, snow boots $6)!
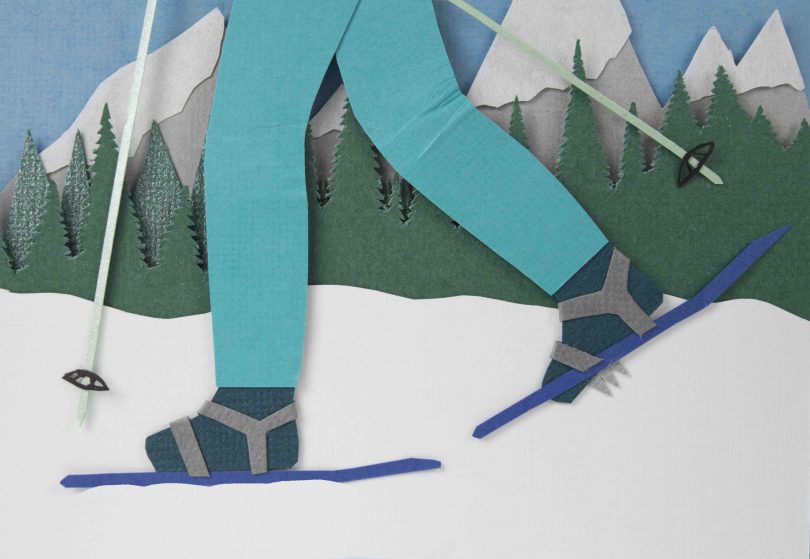
If you’re considering buying your own snowshoes, the main thing to consider is where you’ll be using them. We spoke with Taylor Stark at MEC in Calgary to get the details. Shoes designed for trail walking have crampons just at the toes and heels (the spikes that let you grip on icy terrain), and no heel lift. The next level of snowshoe is designed for hikes with some serious ascents, have more aggressive crampons for better traction, and a heel lift that will keep your foot in a more comfortable position for sustained climbing.
Lastly, experienced snowshoers doing technical alpine mountaineering will need shoes with maximum traction to allow traversing. These shoes have frames that are pretty much all crampon for serious grip. Regardless of the category of shoe, you’ll want to find a balance between size – the larger the surface area, the better you’ll “float” — and weight to find a shoe that suits where you are going, and for how long.
What to wear:
Besides your snow boots and snowshoes, you’ll want to dress in layers, like you would for hiking. If it’s quite cold out (or you suspect you might be spending any time in a snowbank) snow pants are a good idea. Some styles of snowshoes tend to flip snow up at the back, so shell pants could be useful to keep you dry — just imagine riding a bike, in the rain, with no fender on the rear wheel. You get the idea.
Where to go:
One of the great things about snowshoeing is that you can explore all kinds of areas that would normally be hard to get around in the summer — all that pesky underbrush and rocky terrain is covered is soft powder, and you are floating above it all! In general, snowshoeing is more fun on powder than crunching along on packed trails. Newbies might like to stick to the trails or familiar areas though (especially because sometimes all that fluffy snow might be hiding a pond or similar hazard).
Local snowshoeing enthusiast Britta Kokemor recommends trying the trails at West Bragg Creek (see the map here). The trails are well-marked, well-maintained and close to home. Just don’t snowshoe on the cross-country ski trails, it messes up the tracks.
Anything else?
Snowshoeing really is a lot like hiking, so many of the same precautions apply: Always let someone know your itinerary and when you expect to return, so that if you get lost in the woods, you can be rescued! Be prepared for rapid changes in weather. Bring sufficient snacks and water to comfortably get you through the trek you’ve planned. Know your limits, and plan a hike that’s an appropriate level of difficulty. Where there’s snow, there may be avalanches, so be sure to consult Avalanche Canada or the Parks Canada site for up-to-date forecasts.
Congratulations, you’ve earned your first Winter Outdoor Achievement Badge
![]()
Words and art by Julya Hajnoczky